Every year I see Seville oranges for sale in the shops and have vague thoughts about making my own marmalade, but I’d never got round to it. I’ve always been a bit scared by the amount of time, hassle and mess involved. But lately I’ve got a bit more confident with jam and chutney making, so this year seemed a good time to attempt to make a few jars!
I decided to use a simple, no fuss, recipe for Seville Marmalade from Jocasta Innes’ The Country Kitchen. She describes it as, ‘the whole fruit method – easiest to grasp and least tiring to prepare,’ which sounded appealing! The other jams and chutneys I’ve made from this book have turned out well, so it seemed a good place for the novice to start.
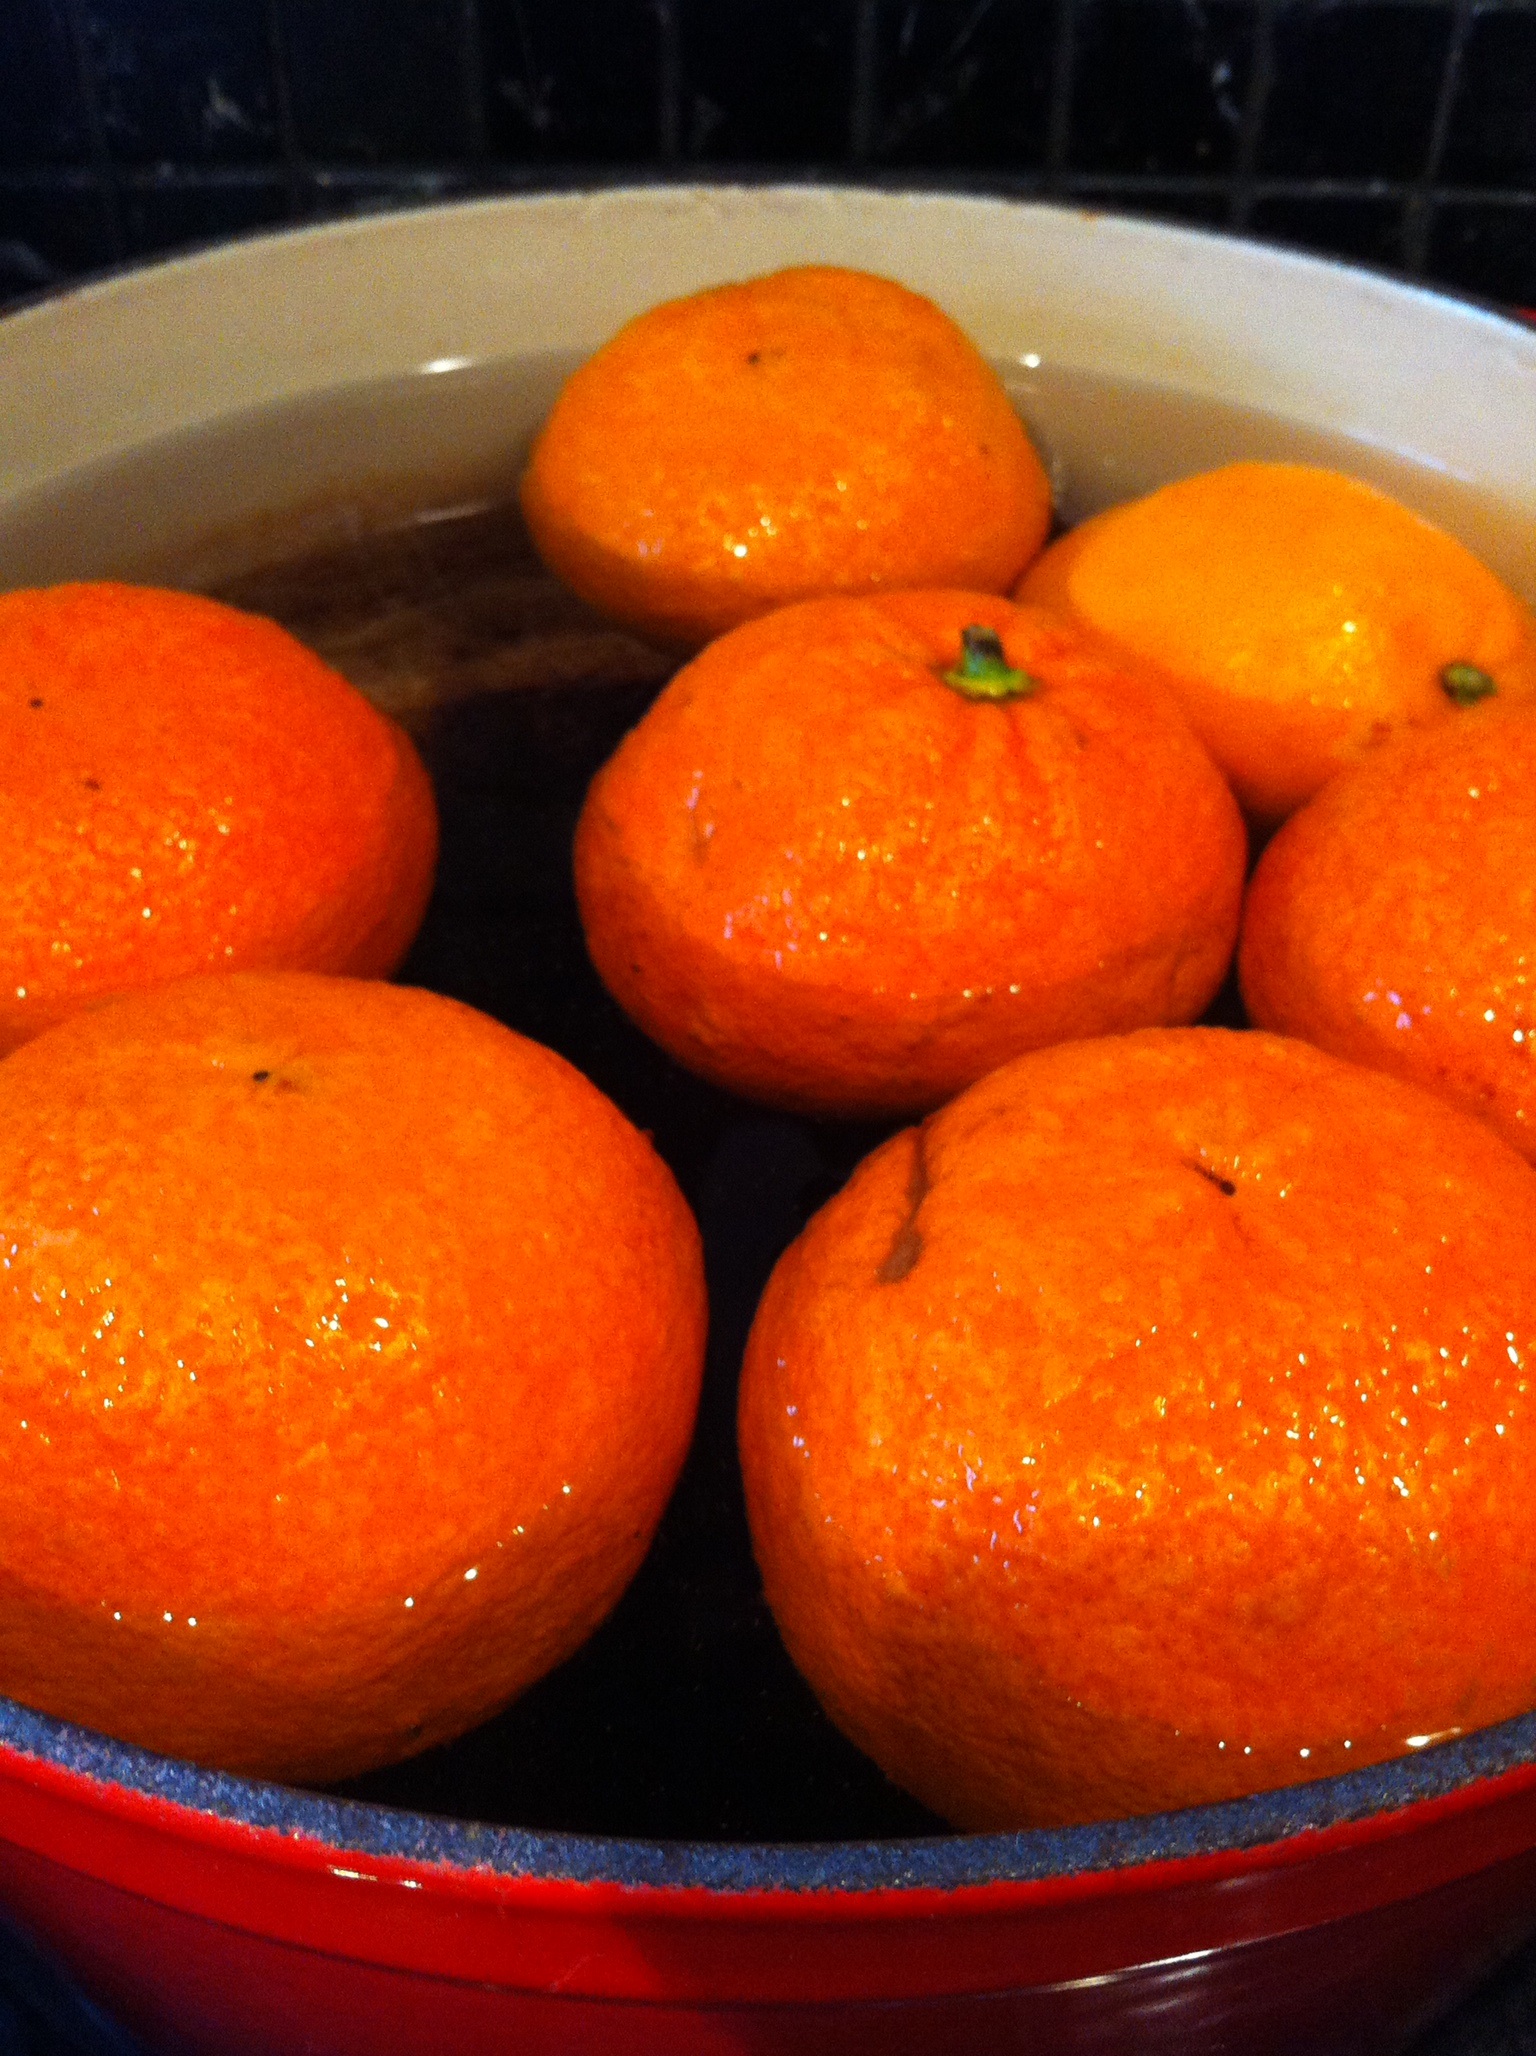
I waited until I had a clear day when I didn’t need to go out anywhere and started to gather my ingredients…. oranges, sugar, a lemon and some water. The recipe starts with boiling the oranges whole in the water for a couple of hours, or until they are soft. This was the easy bit! While I got on with other things, the house filled with the lovely bitter-sweet scent of the oranges.
The oranges took quite a long time to soften, but eventually they were ready. At this point though I was a bit dismayed to see that a good amount of the cooking water (which is used later on) had boiled away. Jocasta doesn’t mention this happening, and as I always get a bit panicked by vagueness in preserve making recipes, I decided to check out a few of my other marmalade recipes to see what sort of quantities of water they suggest. Big mistake! My other recipes were all very different and muddied the water (or lack of it) somewhat! So, I decided to forget about the water for a bit and press on with the next stage of the recipe.
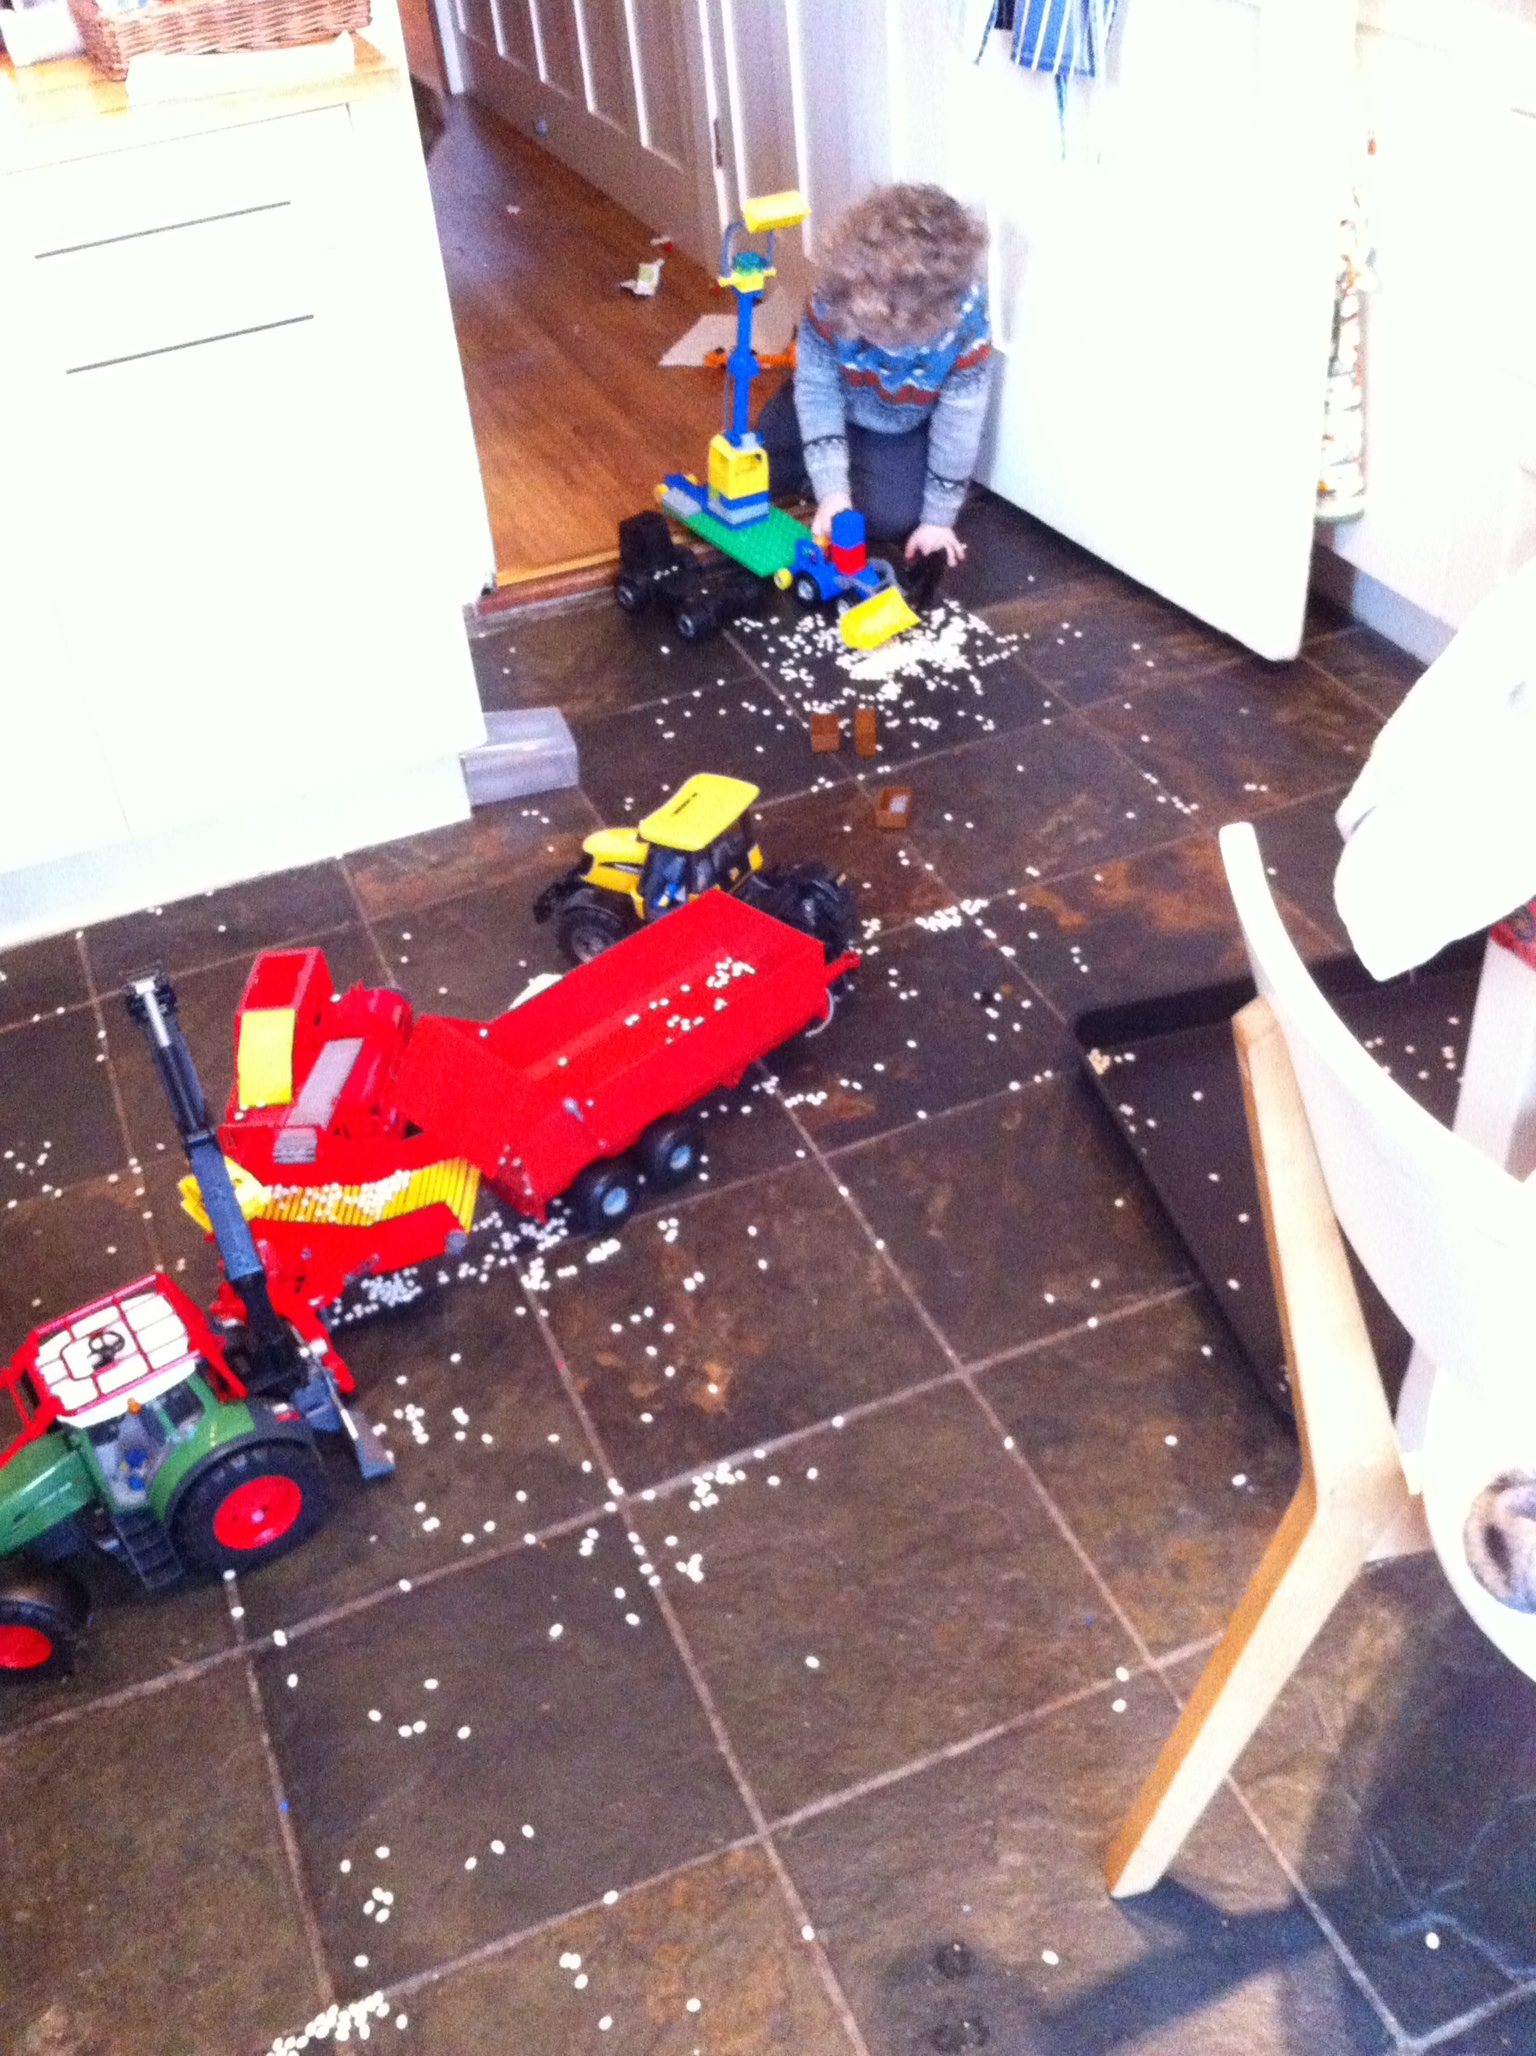
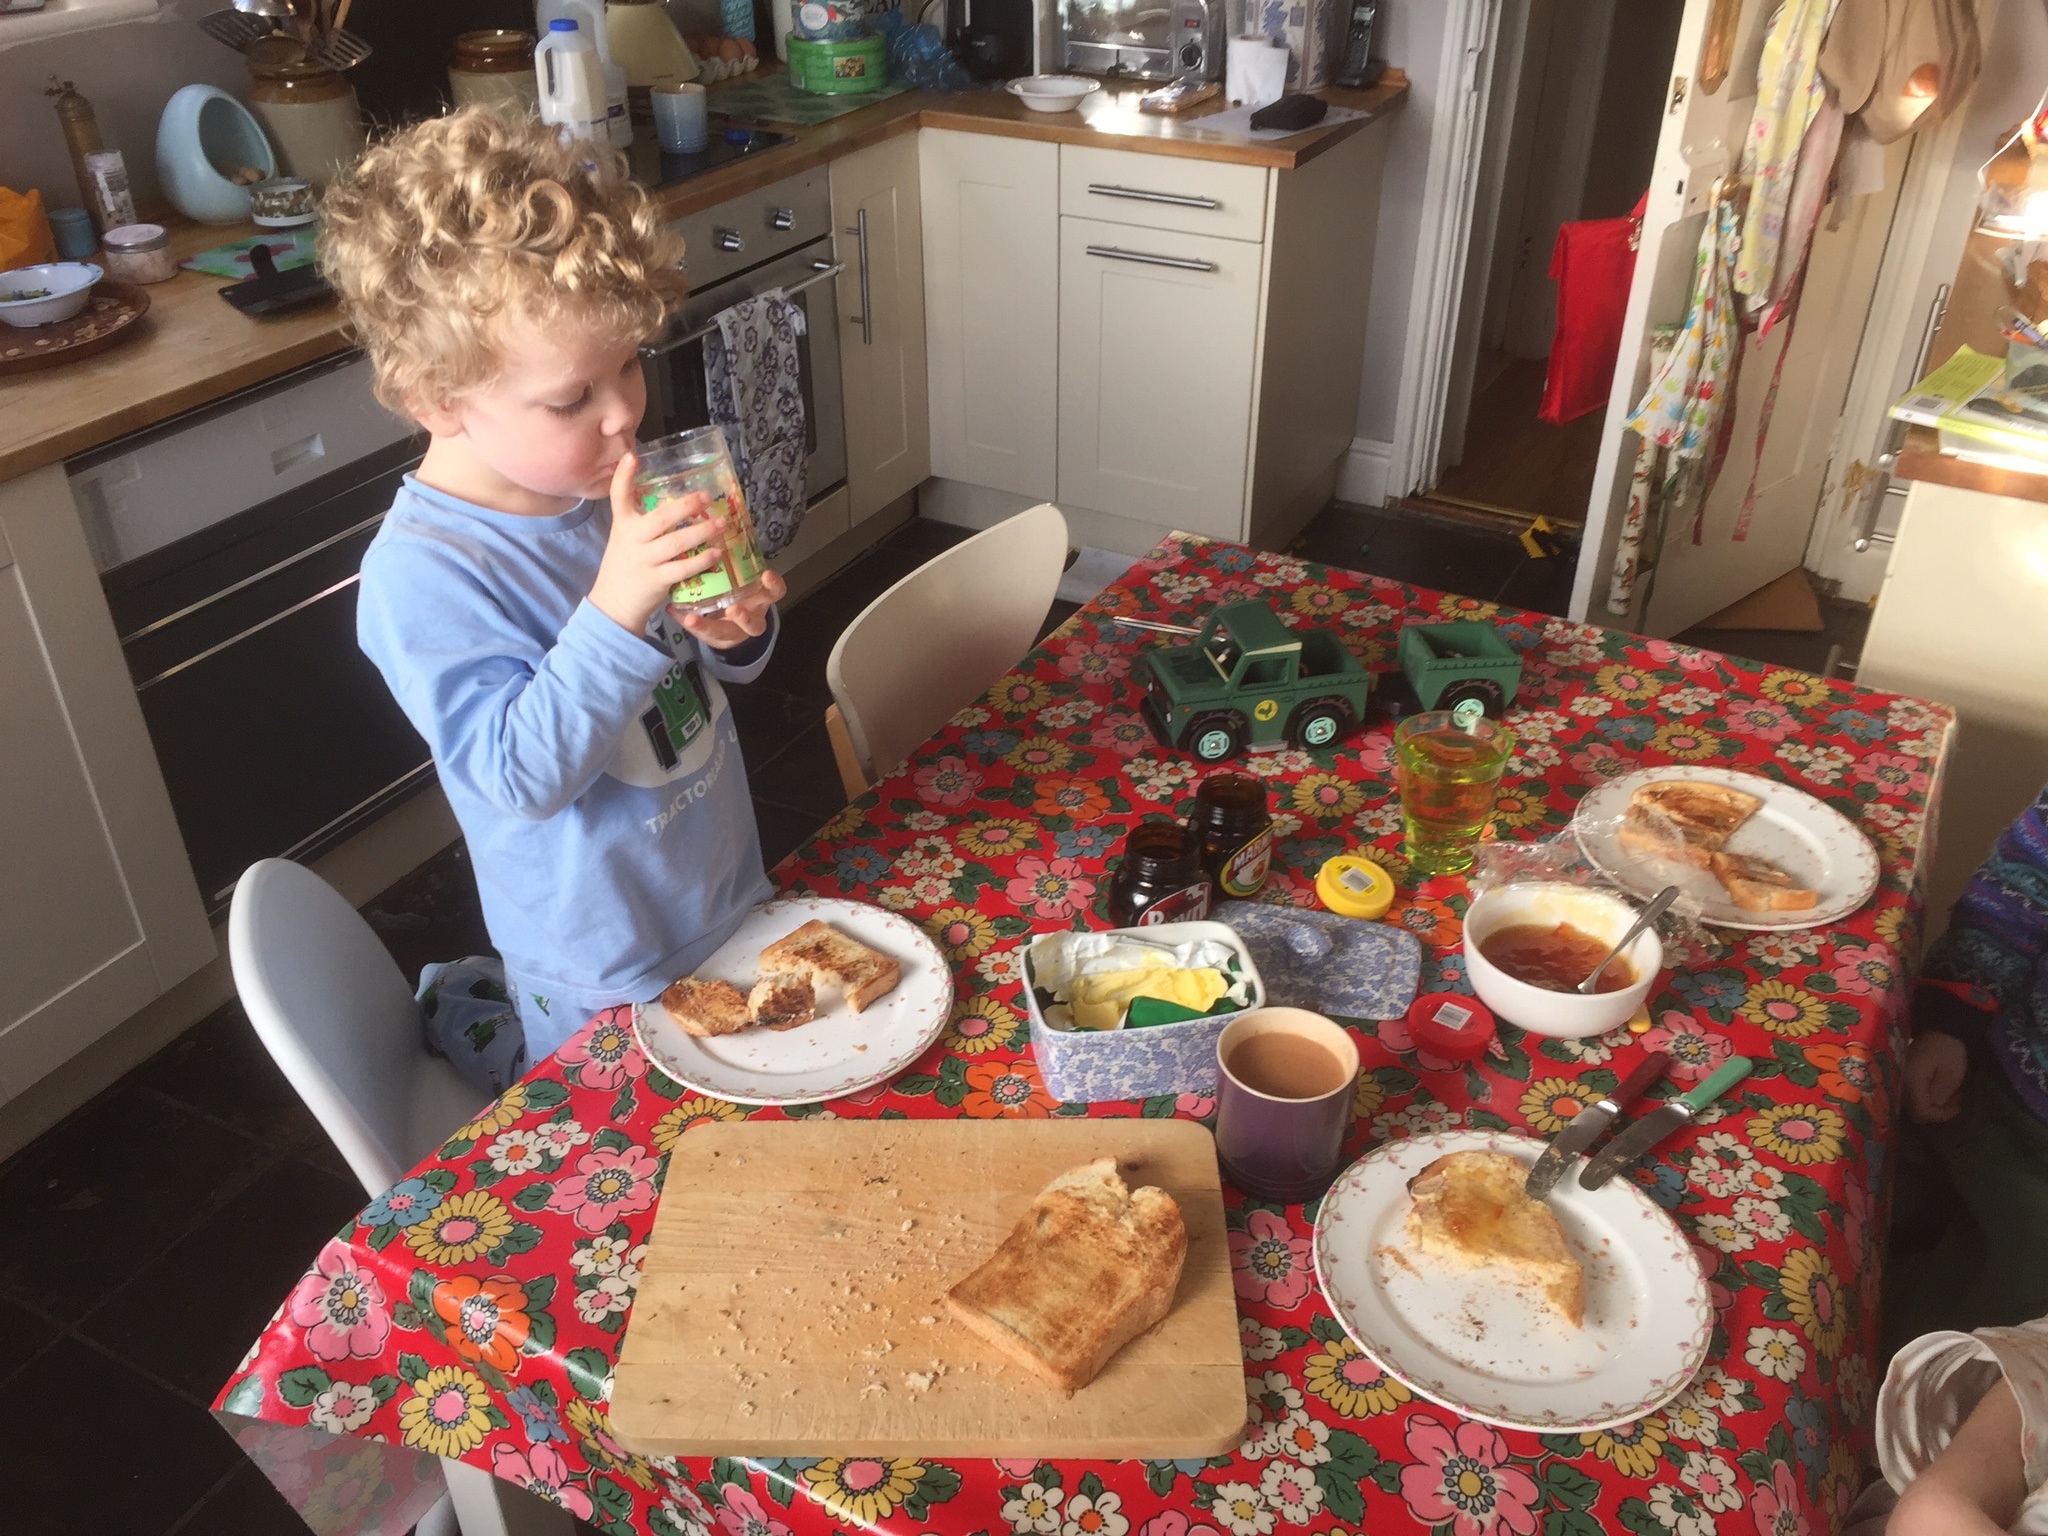
At this point, I would like to point out that behind where I was working in the kitchen my two boys had decided to set up a potato harvesting game with their giant tractors and millions of tiny dried haricot beans. This diversion kept them amused, but the crunchy-ness underfoot was certainly unusual and didn’t exactly aid concentration!
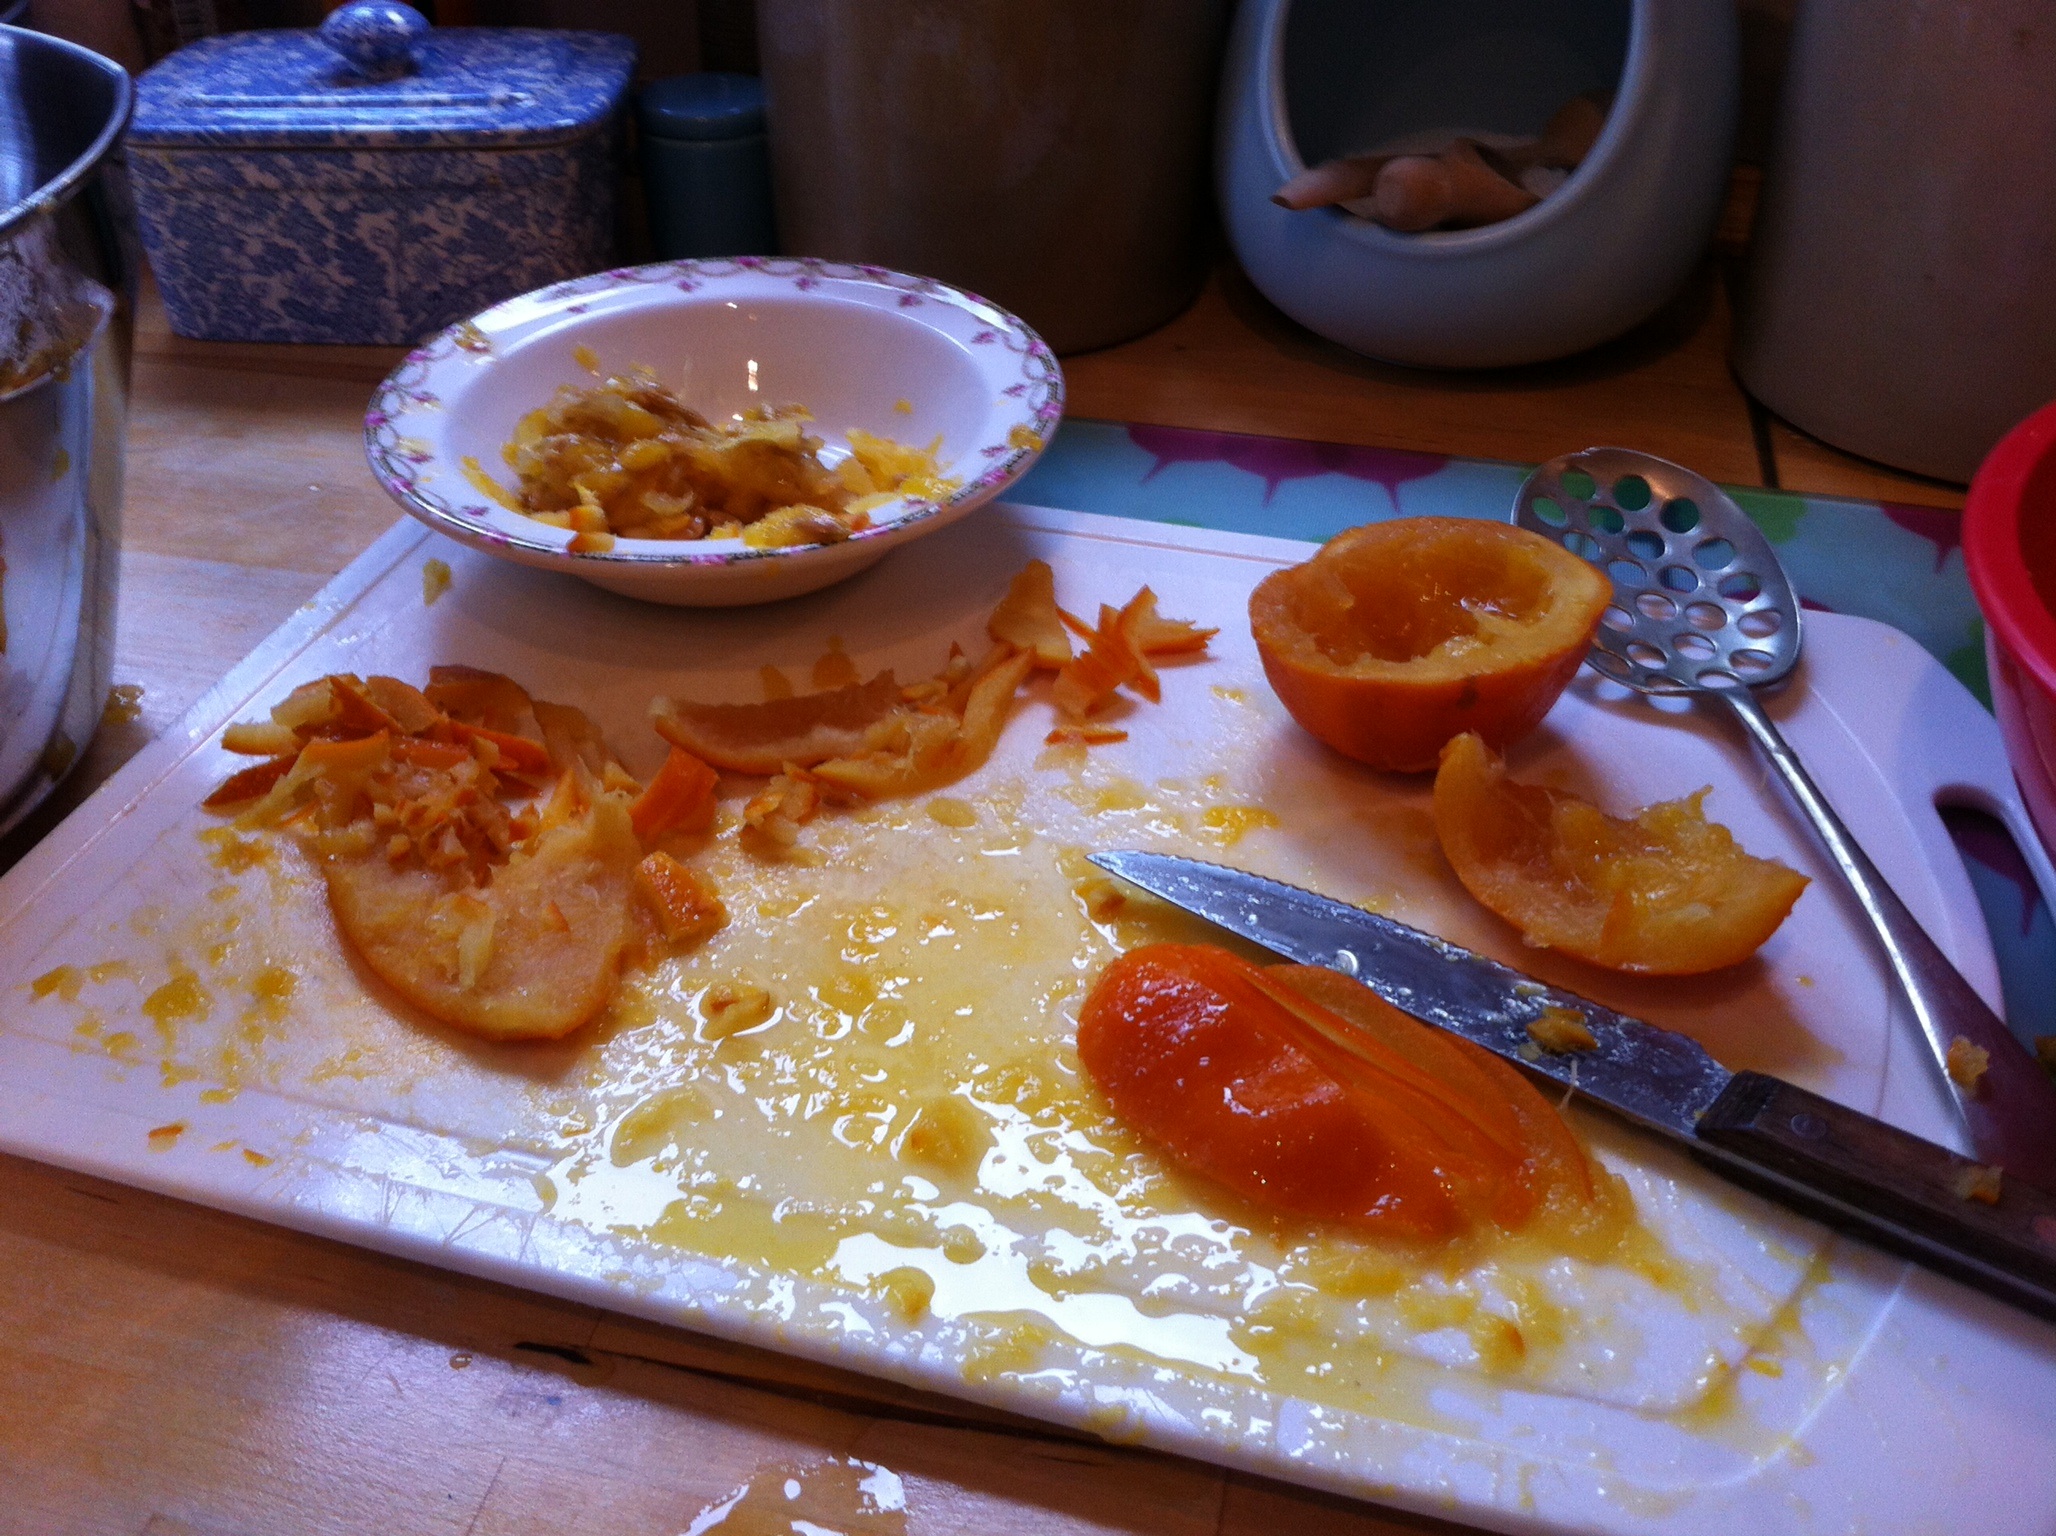
The next step of the marmalade was to cut up the soft oranges into fine shreds, reserving the pips. Again, my recipe was a little vague and as a novice I was rather confused about this – particularly how much of the flesh of the orange to use and how to avoid too much of the stringy pith ending up in my marmalade. In the end I got the hang of, but it did take forever and there did seem to be an awful lot of chopped peel.
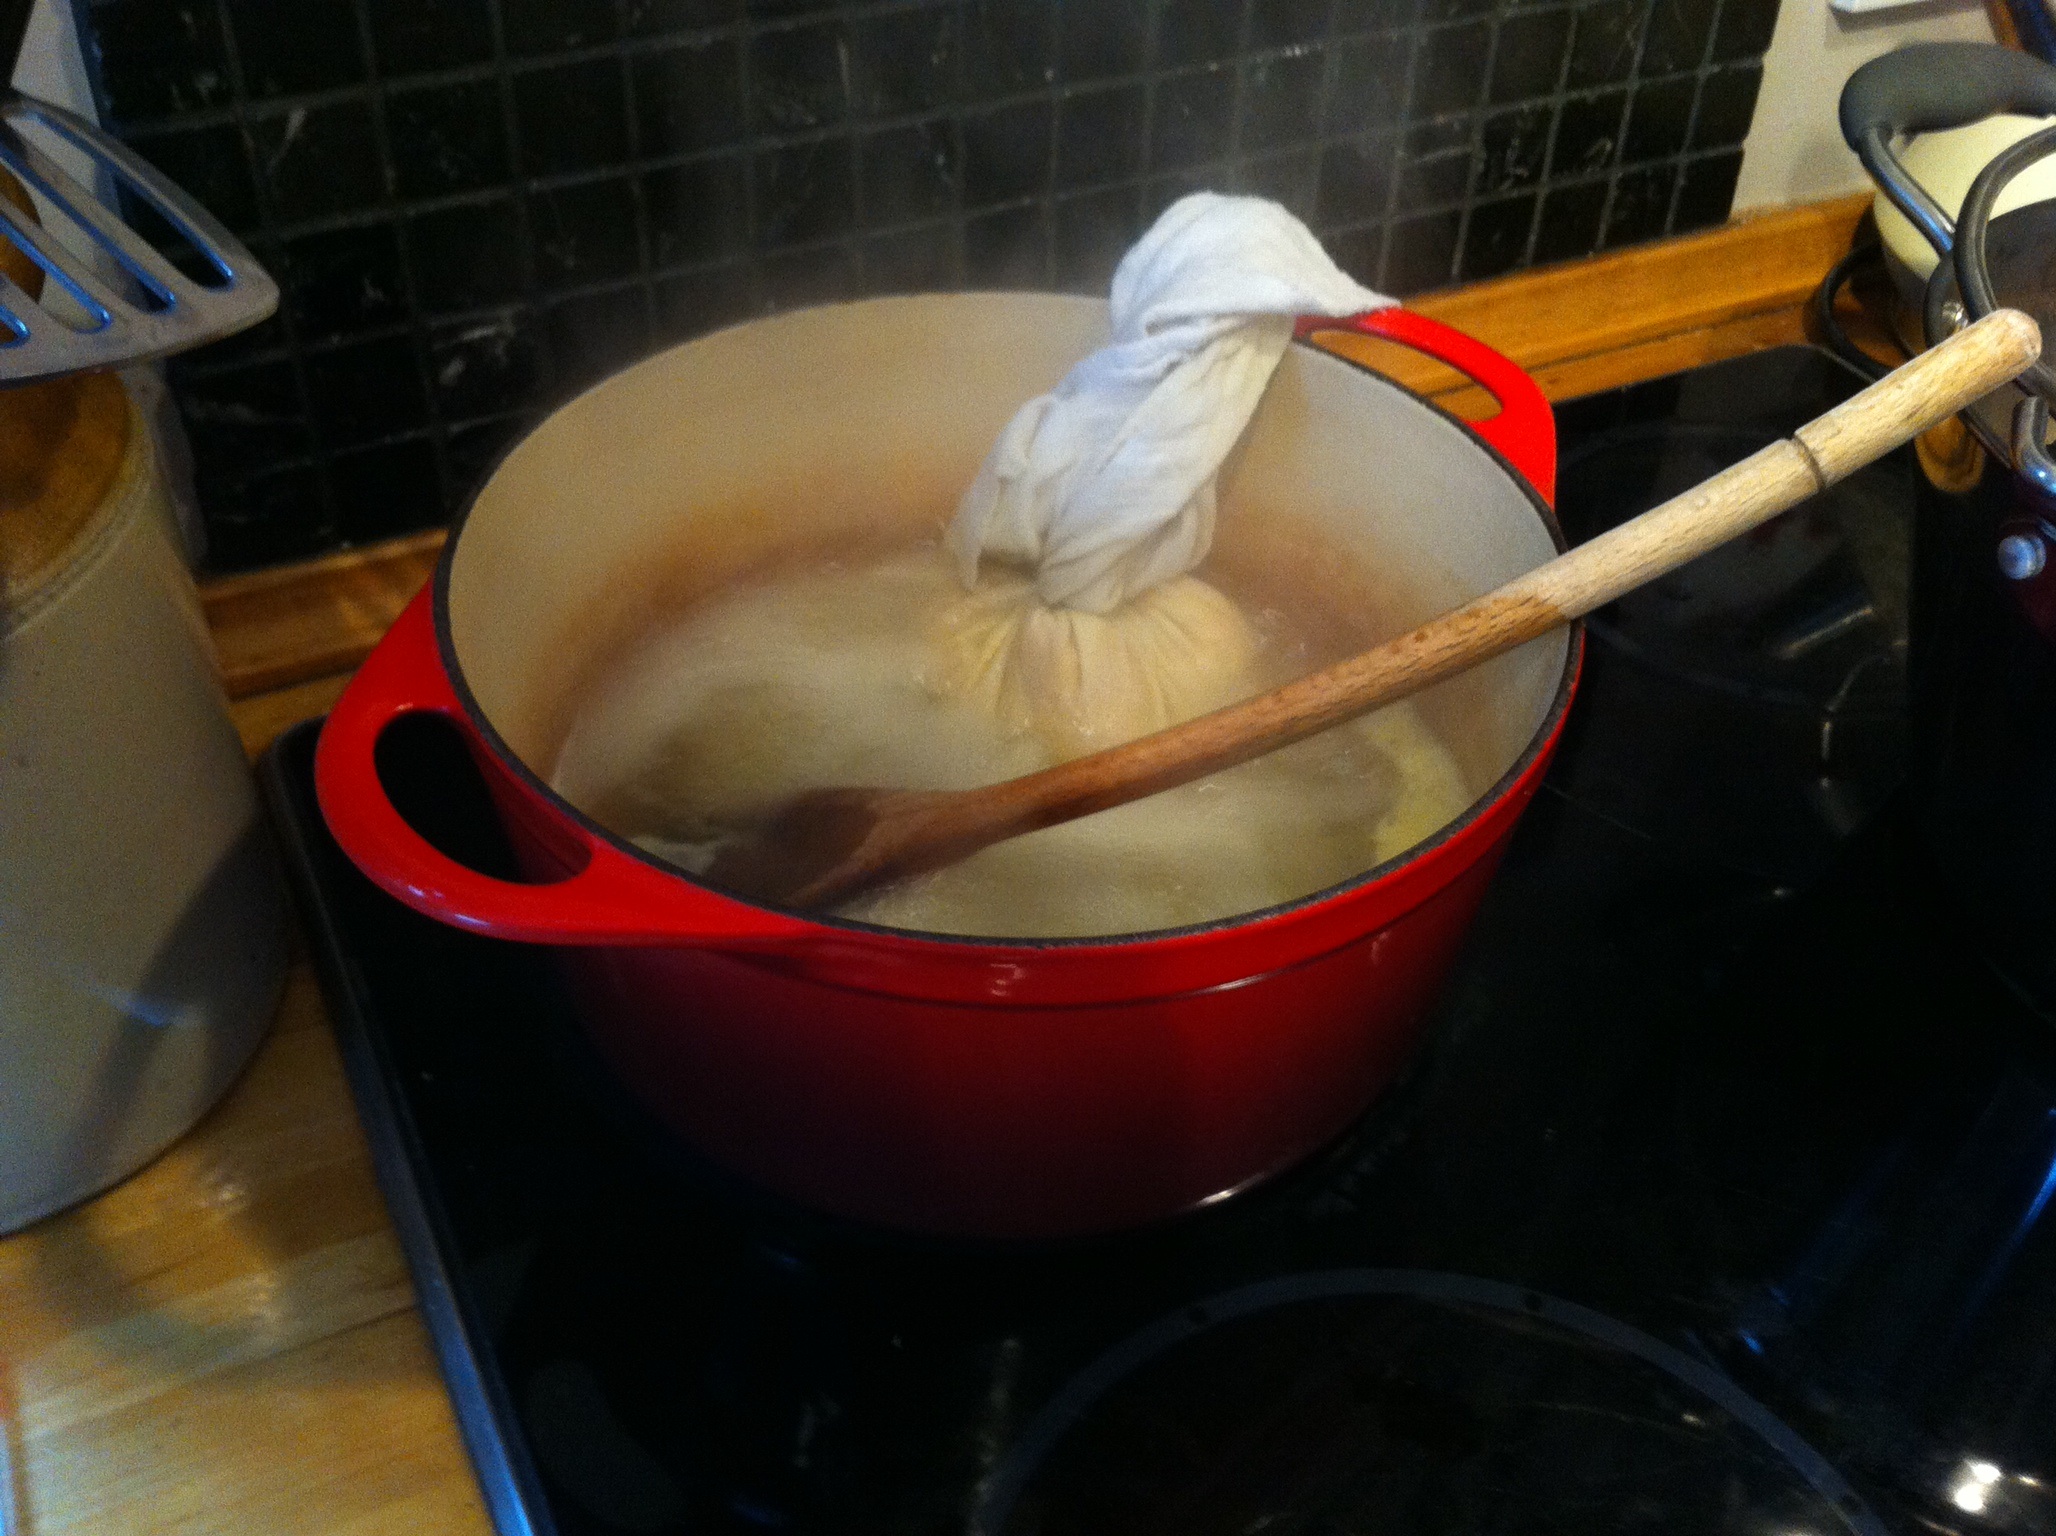
The fruit all went into the preserving pan and the pips were tied up in a muslin bag. The bag of pips, along with the juice of a lemon, needed to be added to the orange cooking water and then boiled for five minutes. Of course, most of my water had boiled away earlier so I decided at this point to just relax and follow my instincts and make things up as I went along – the ingredients only cost a few pounds after all. I added about another pint of water and hoped for the best.
The muslin bag looked deeply unappealing boiling away in the slightly grey water, but fingers were crossed and I distracted myself for a bit by hoovering up the now abandoned potato plantation. After this, Jocasta advised simply straining this water and adding it to the fruit in the preserving pan. In addition to this I decided to squeeze out my muslin over the preserving pan, as other recipes had suggested, so that the jelly-like liquid came out of it – something to do with pectin in the pips, I think. At this point, I also decided to discard some of the chopped peel – I like my marmalade to be quite delicate and not too chunky – which I hoped wouldn’t matter too much.
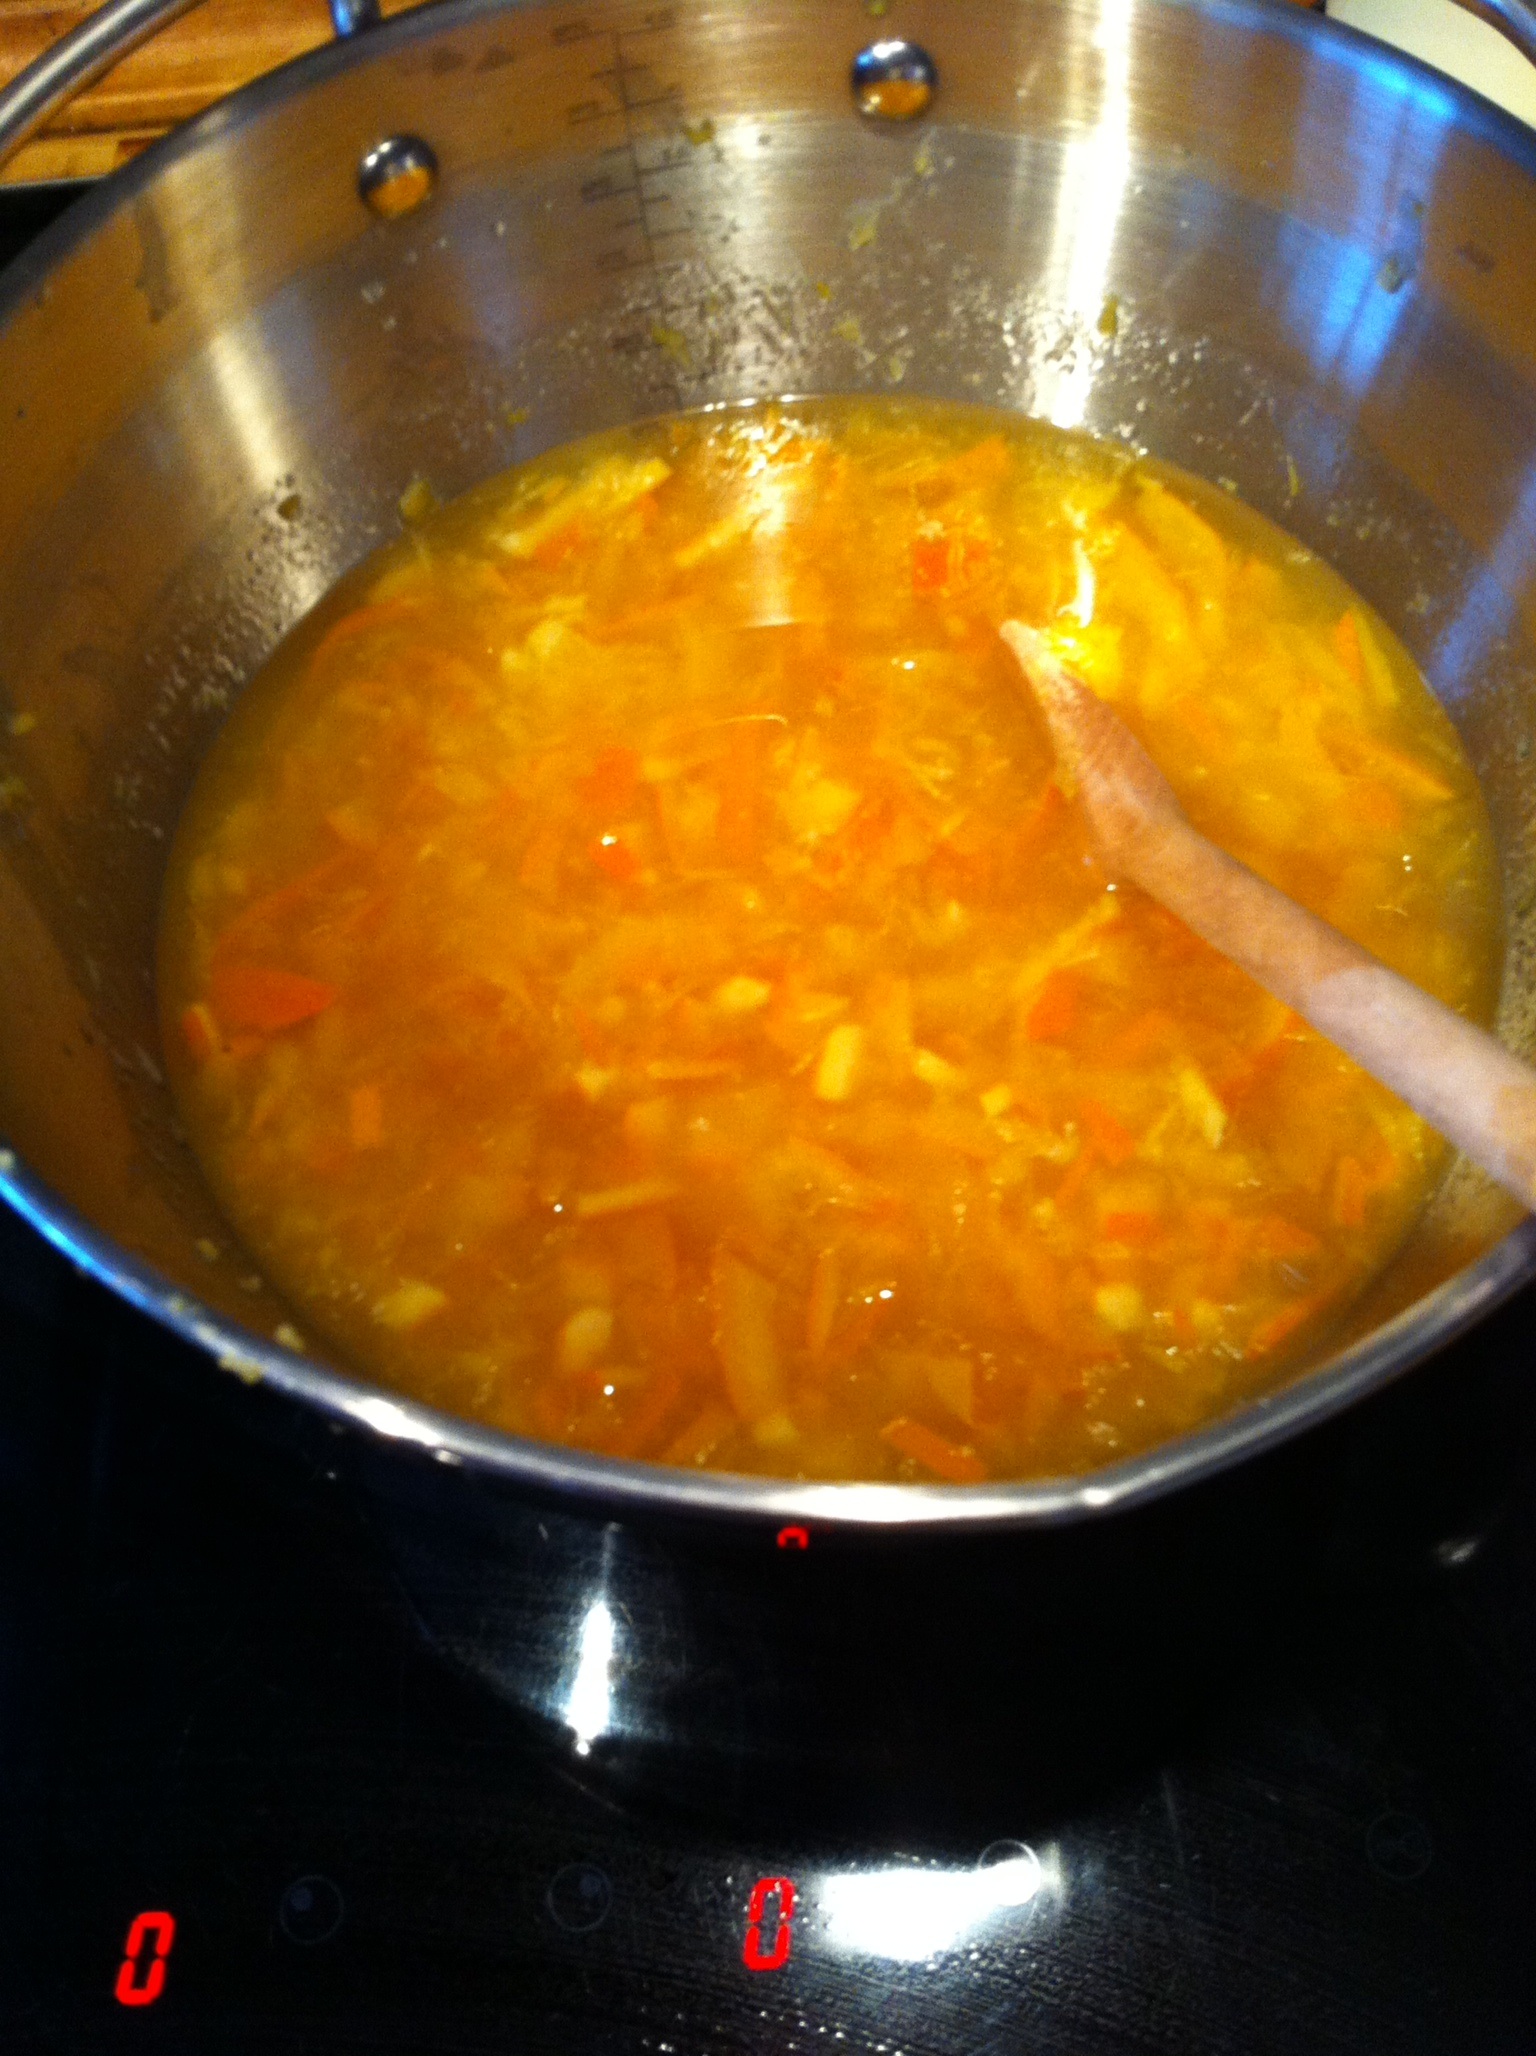
After this, you are supposed to boil everything up until the contents are reduced by one third. Again, I added a bit more water as there still didn’t seem to be enough – I think the contents of my pan measured about three pints, and I boiled it until it had reduced to two pints – helpfully my pan has measurements inside it!
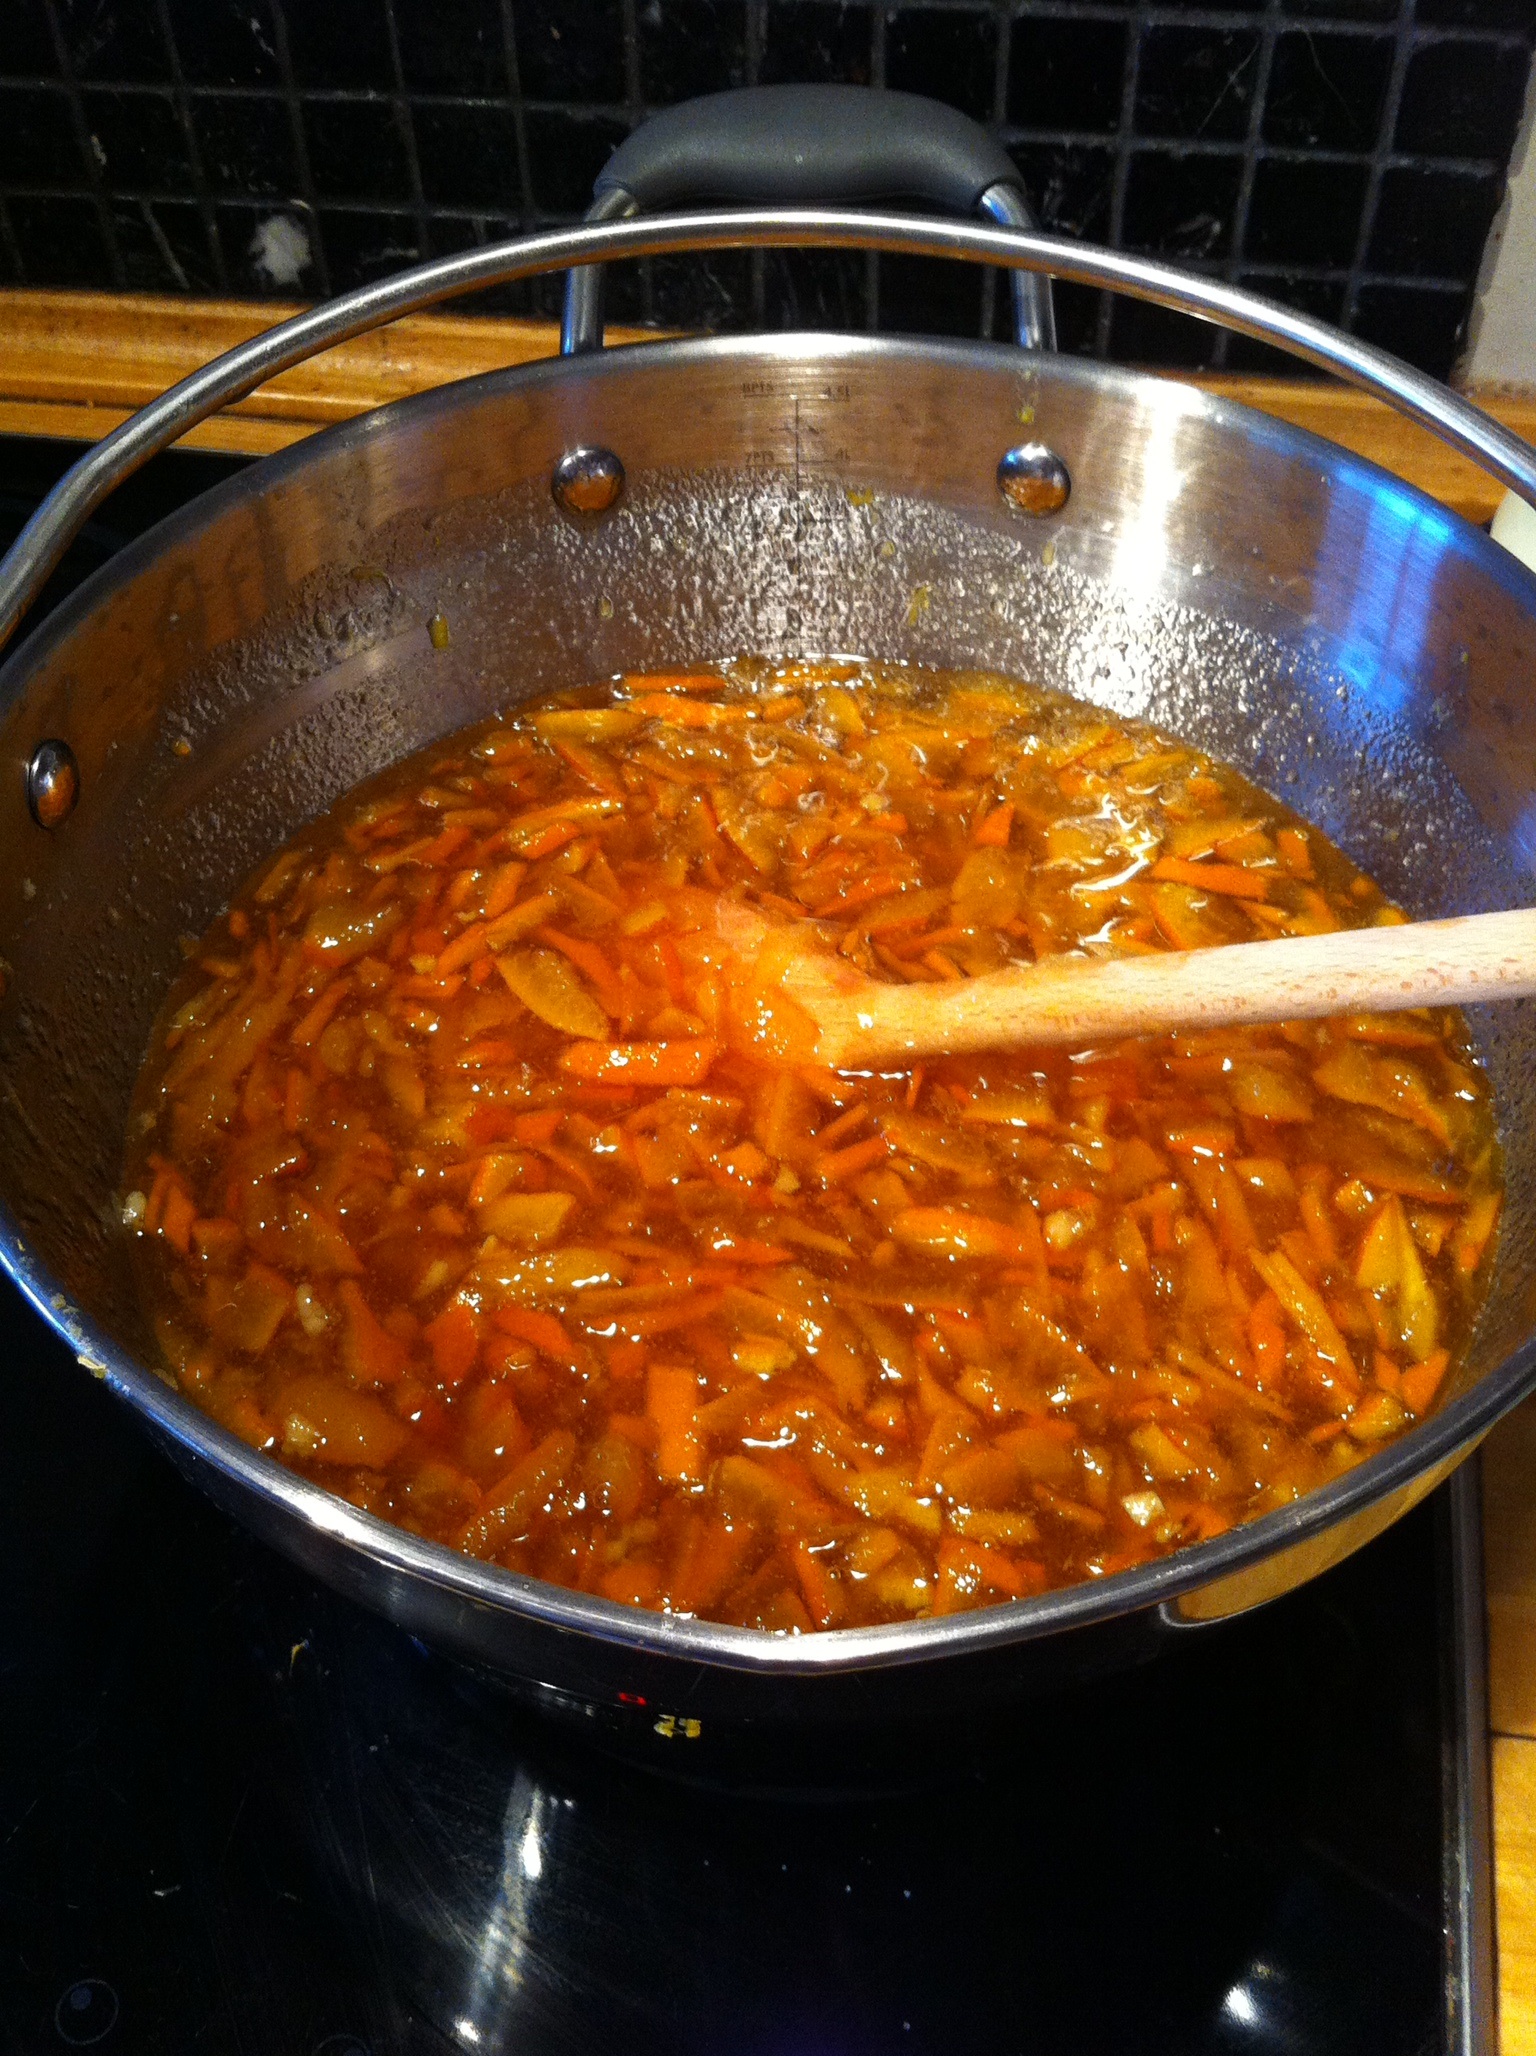
Next, the sugar went in. I was quite taken aback by the quantity of sugar (2kg), but the oranges are so bitter that I suppose it would be inedible without it. Once the sugar was stirred in, the marmalade needed to boil hard until the setting point was reached. There was a bit of scum which I skimmed off as I remembered reading somewhere about this making the marmalade cloudy.
When boiling up the marmalade, I didn’t use a thermometer, as I prefer the method where you keep a little dish in the freezer and drop a little of the marmalade on it when you think it might be ready. If it’s ready it will wrinkle a little when you push it with your finger. As usual with my preserve making, this seemed to take ages and I tested about five times before I was happy!
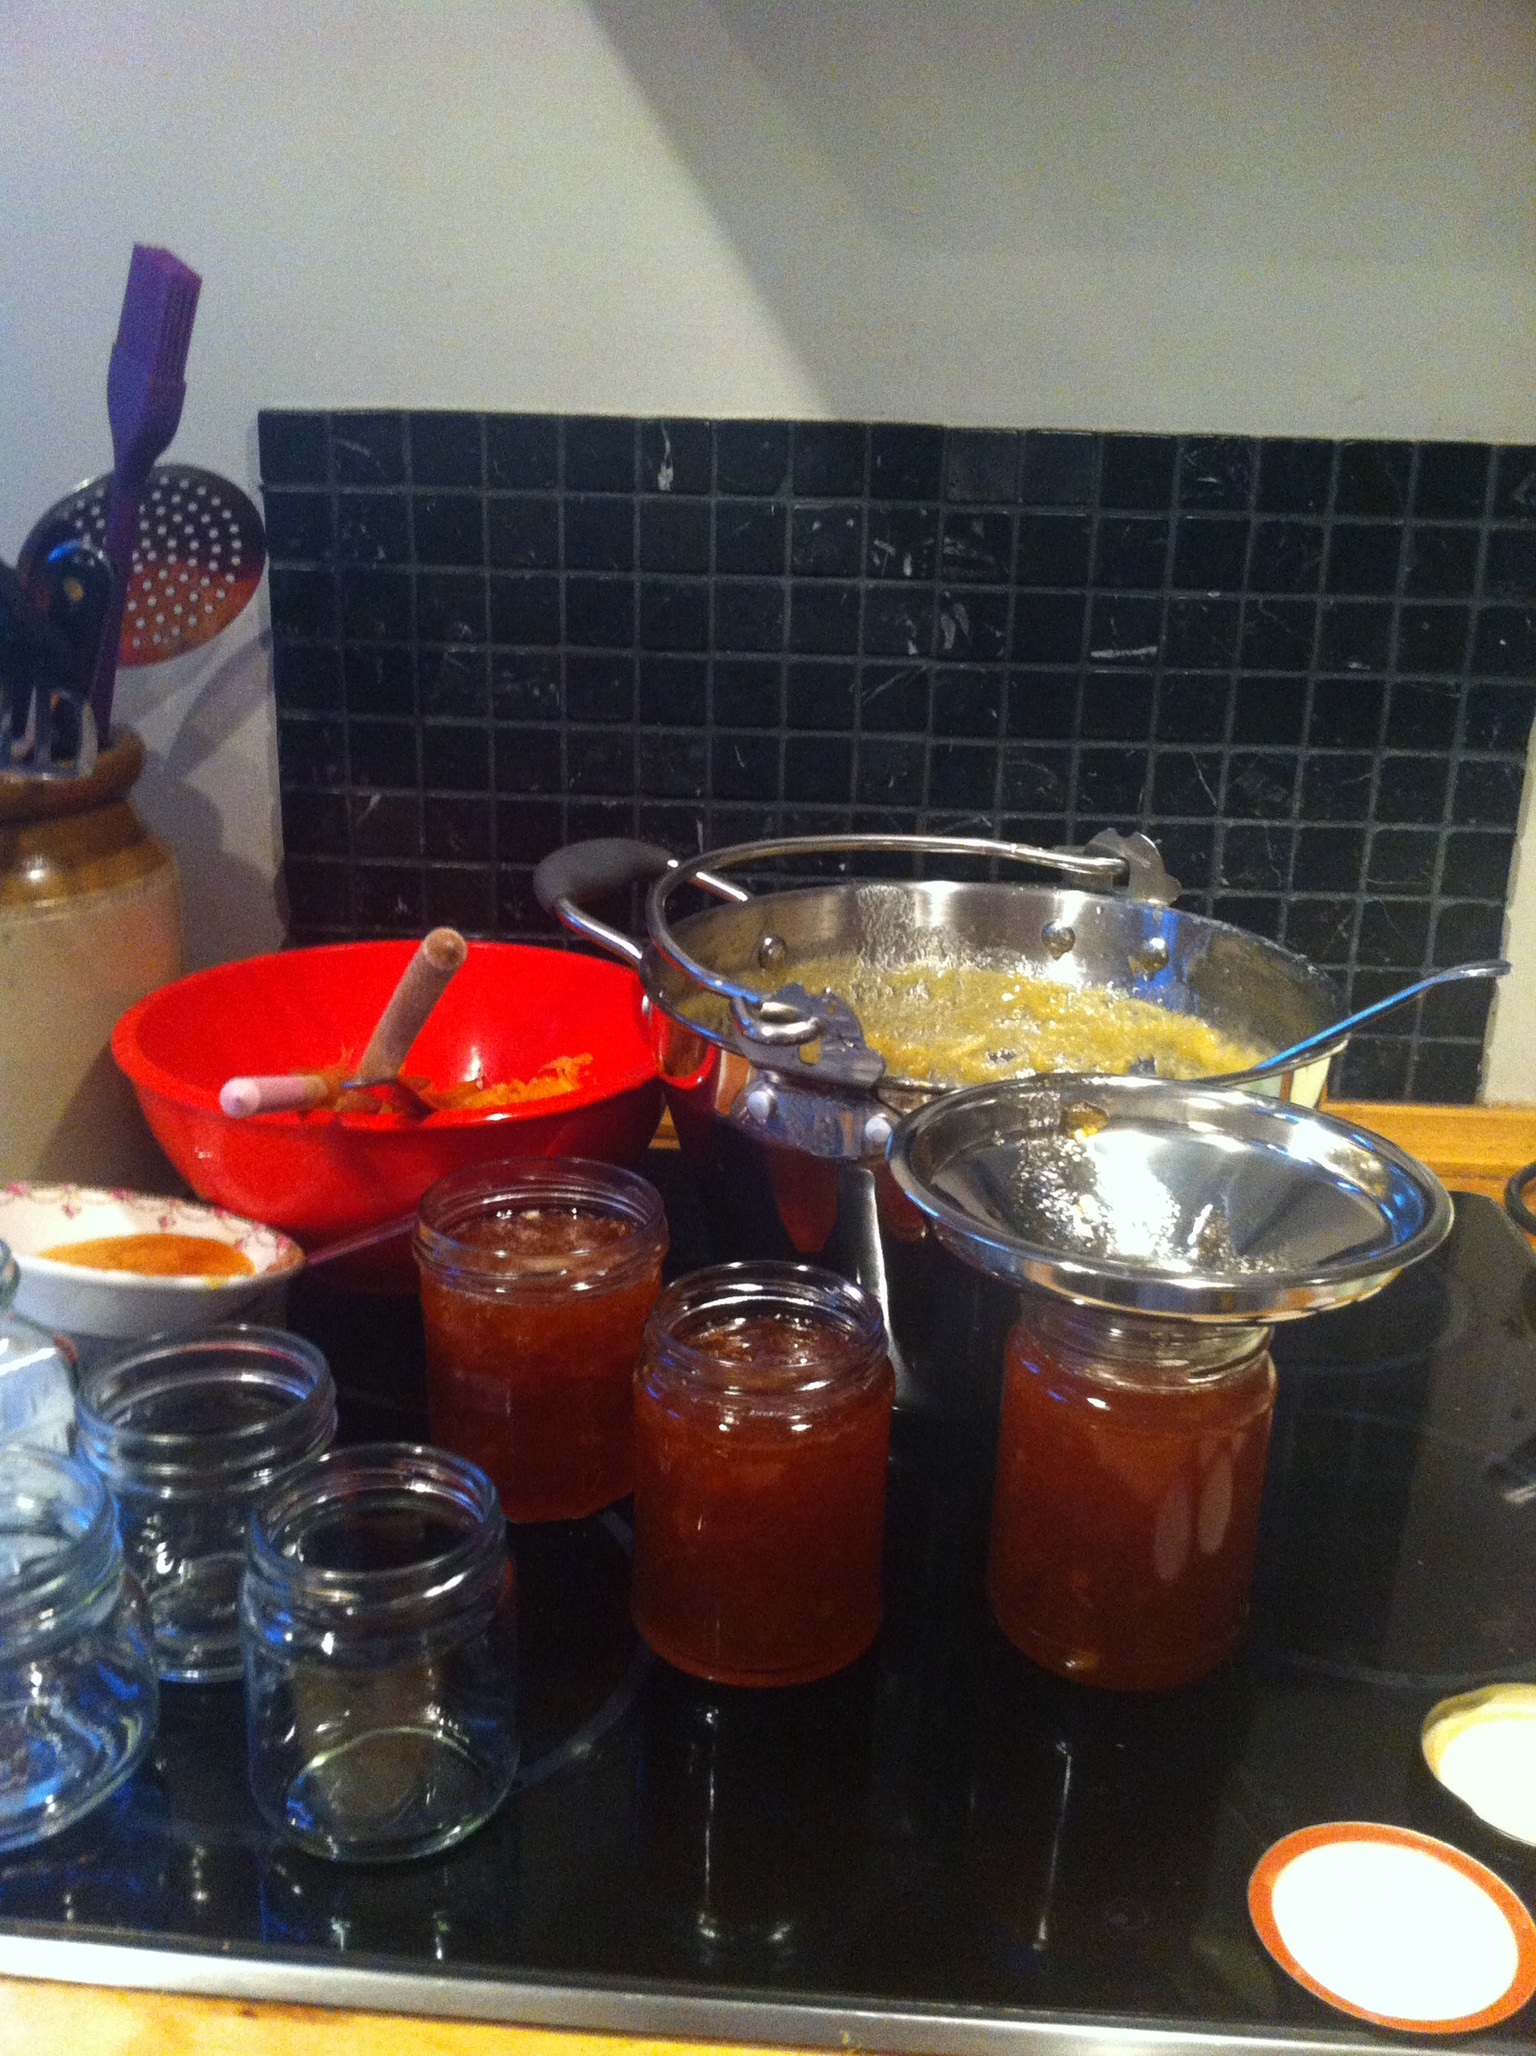
The marmalade then needs to sit and cool for fifteen minutes before it is poured into the sterilised jars. I sterilise my jars by running them through the dishwasher on the hottest setting – roughly timed to coincide with the potting up time. I used to do them in the oven, but this feels easier and has worked well.
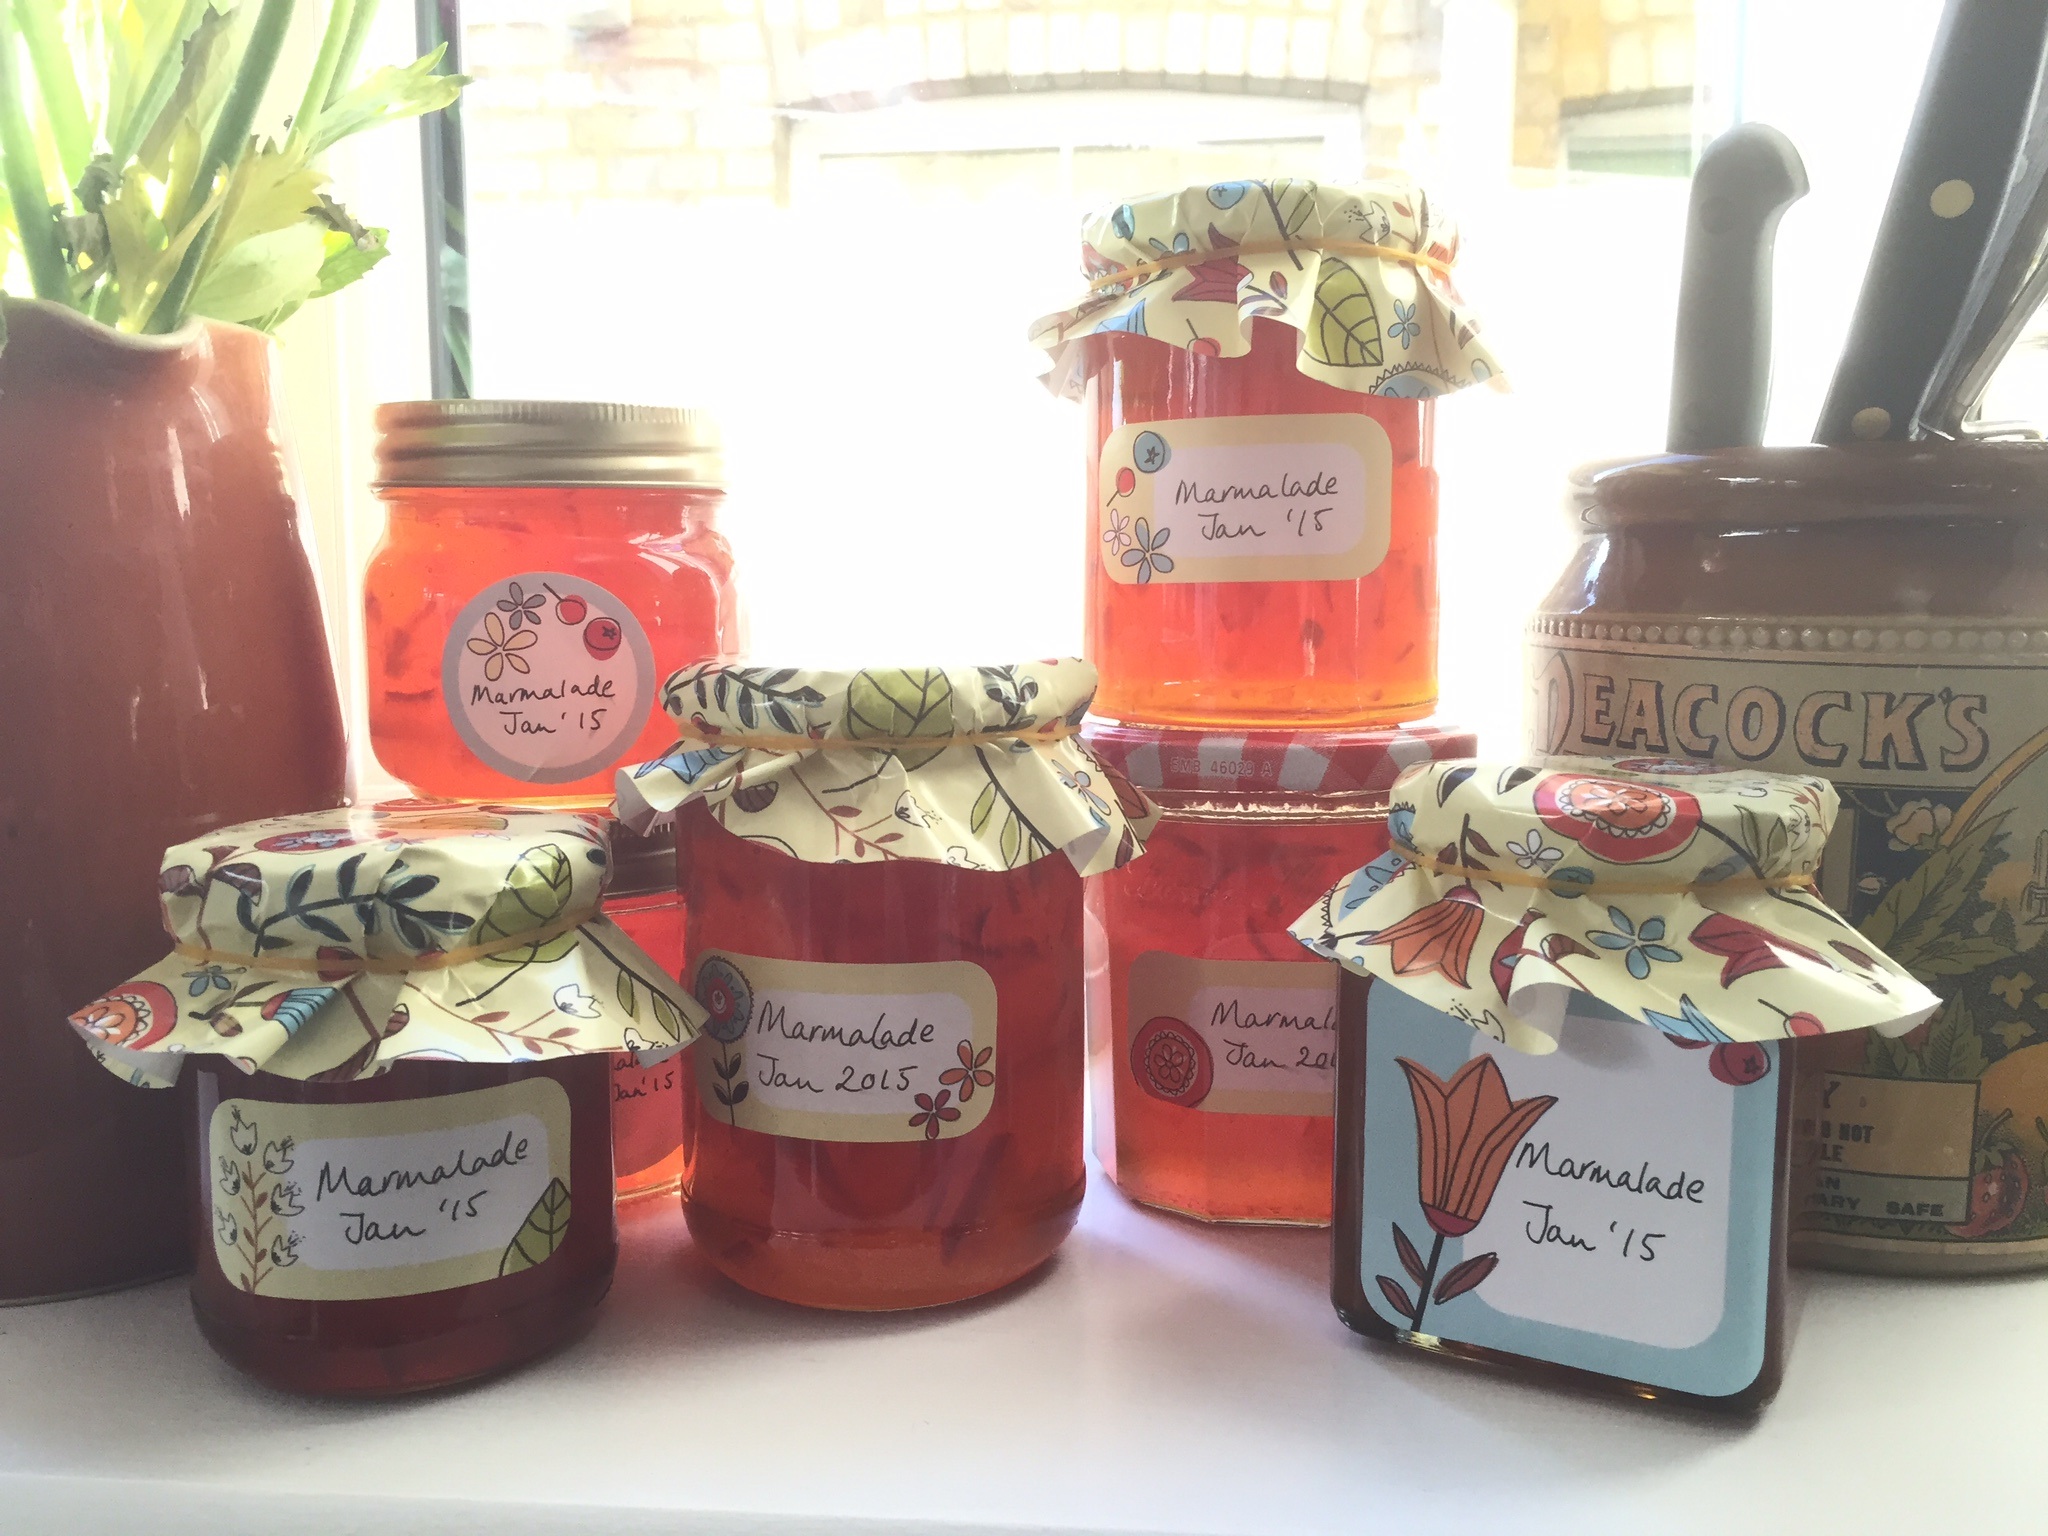
My favourite bit is always the potting up and it is so incredibly satisfying after all the messy preparation. I started making the marmalade at ten in the morning and finished at five pm! It was a bit of a labour of love, but I was delighted that my marmalade actually looked and tasted like marmalade. Seven jars was also a pretty good yield – especially when you think about the minimal cost involved.
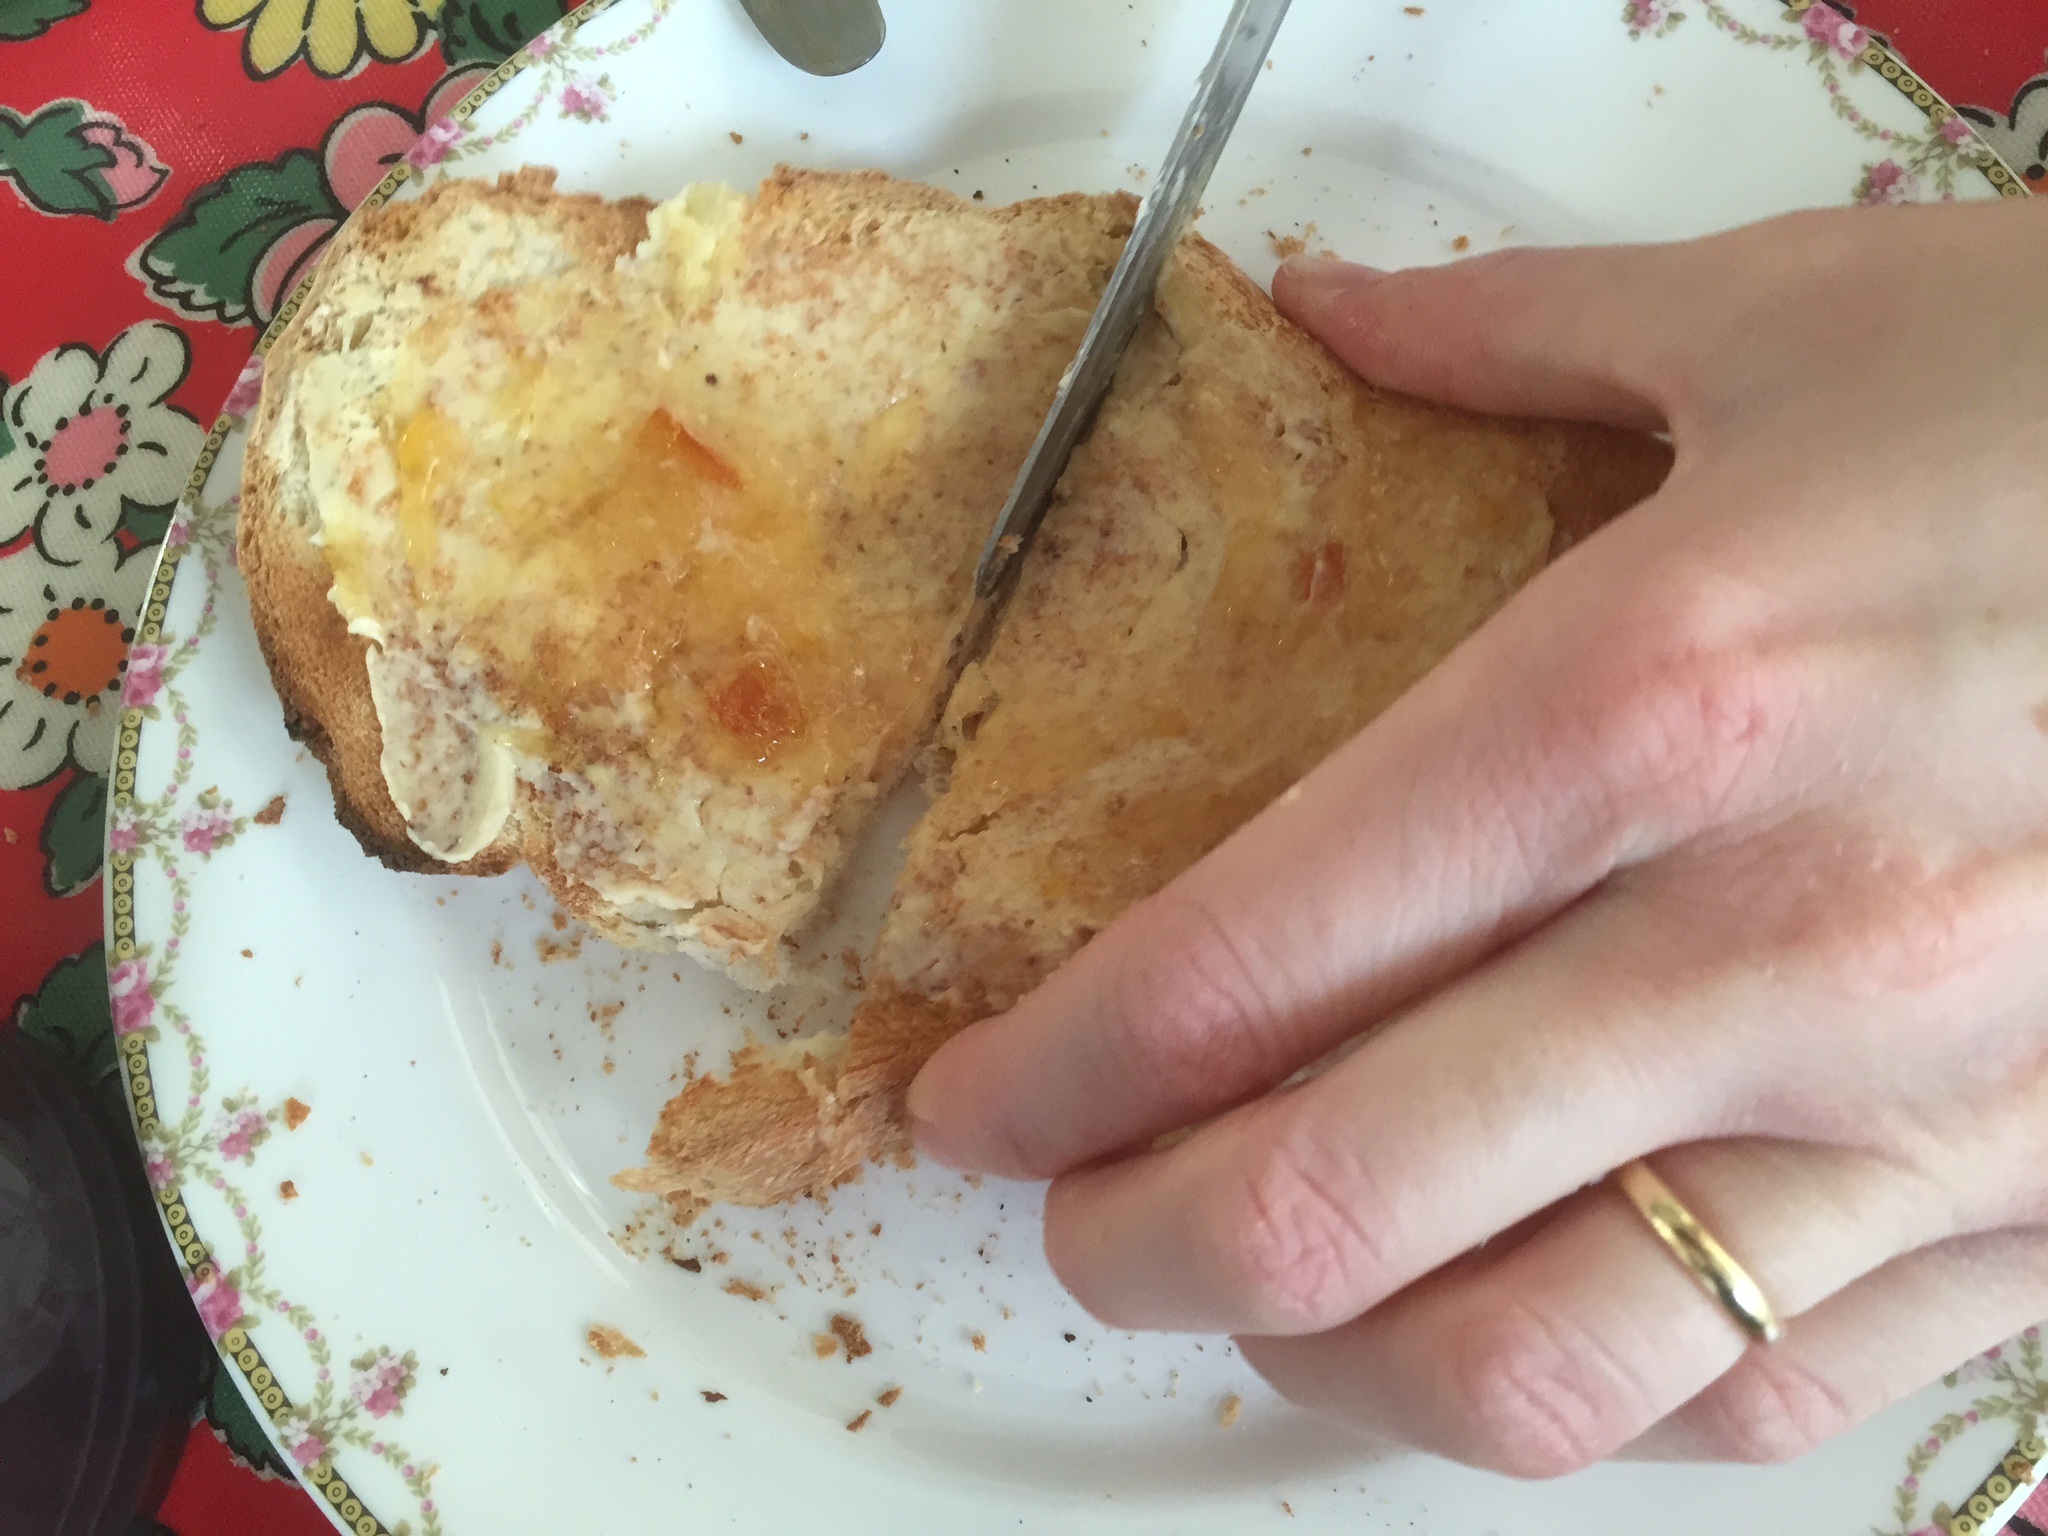
I think I’d make it again, but it was undeniably much more of a faff than jam or chutney. But it’s heavenly on of a piece of toasted homemade bread on a cold, dark morning!
You did brilliantly! XXXXXX
Thanks Ruth, would you like a jar?